PowerShell: Using the VictorOps REST API and PRTG Sensor Output
What's it do?
I utilized the VictorOps REST API with PowerShell to return data in a user readable format, or to use with PRTG sensors.
I wanted a way to display who was currently on call via a PRTG map that other users can publicly access.
Note: This is something I wrote in a day, and it will be evolving into a cleaner, error checked format!
What you'll need
- Quest AD PowerShell tools (installed on any machine running this, including PRTG)
- A VictorOps Enterprise account
- PowerShell v3+
- VictorOps REST API documentation (good to know and review)
Parameters
-getInfo
- ack = List/ack any outstanding alerts. Will prompt for message and confirm before acknowledging.
- OnCall = List who is currently on call (must specify team with -team parameter) (compatible with -format parameter and PRTG sensors)
- UserSched = Get a user's oncall schedule. Currently best to return this into your own variable for now. (Must specify -user parameter)
- Upcoming = See who is on call for a team in the future. (must specify team with -team parameter)
- Incident = List all incidents (compatible with -format parameter and PRTG sensors)
-team
- Specify the name of the team. If you have not setup the switch information later in this script, do so to ensure it lines up.
-user
- Specify the username you're getting info for.
-format
- Specify 'prtg' for certain -getInfo parameters and it will dump it as PRTG sensor information. Leave blank or specify 'user' to return a human readable response. Use 'raw' to return the raw API data. It would be best to call this script into a variable when doing this. $rawAPI = .\Script-Name.ps1 -getInfo 'oncall' -team 'teamname' -format 'raw'
Examples
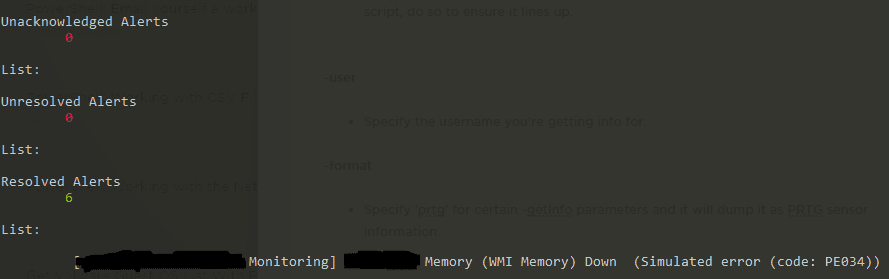
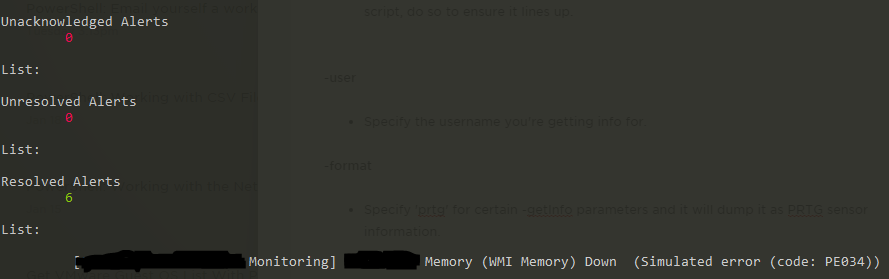
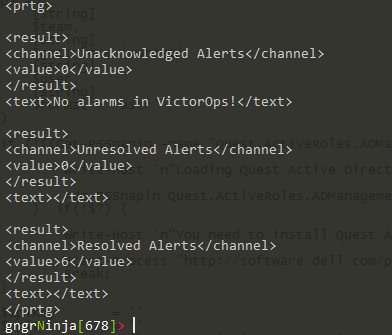
Here is some example output.
.\Get-VictorOpsInfo.ps1 -getInfo incidents
.\Get-VictorOpsInfo.ps1 -getInfo incidents -format prtg
Setting it up
You'll need your API Key and ID from VictorOps. Once you have that, be sure to set them in the script.
$apiKey = ''
$apiID= ''
You can generate a key in VictorOps by going to "Settings -> API."
Be sure to change this switch to match your team setup in VictorOps.
Switch ($team) {

{$team -like "*team1*"}{

$teamName ='team1name'

}

{$team -like "*team2*"} {

$teamName = 'team2name'

}

}
Your username will be set to the username you're logged into the machine with. This is important to note as it sends username when you use the script to ack alerts. To change this, edit the following (you'll want to do this if your username does not match the one in VictorOps):
$ackUser = (Get-ChildItem ENV:\USERNAME).Value
PRTG Setup
To use this and report info into PRTG, setup the script and ensure Quest AD PowerShell tools are installed on the PRTG machine.
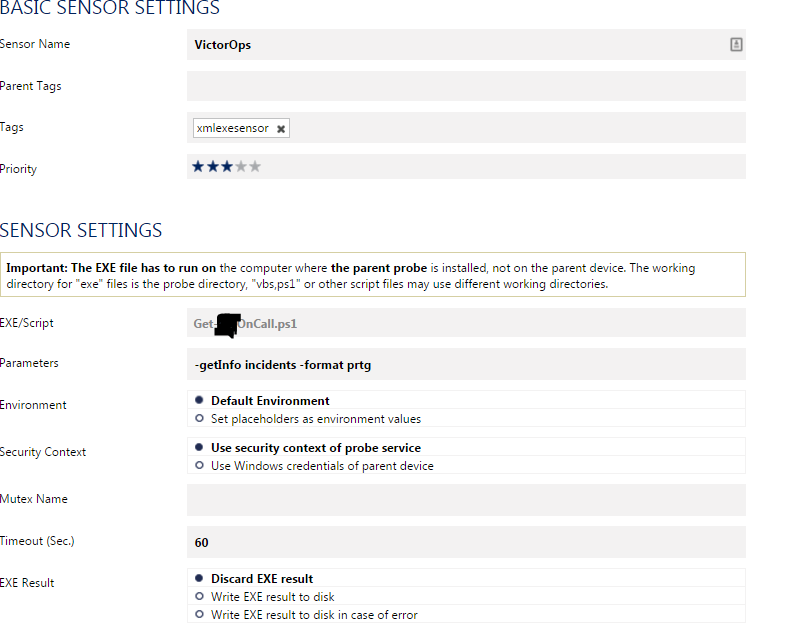
- Drop the script in your Custom Sensor folder (Example: D:\PRTG Network Monitor\Custom Sensors\EXEXML\)
- Setup an "EXE/Script Advanced" sensor on PRTG and name it something like "VictorOps Incidents". Select the script in the drop-down.
- In the settings specify the following parameters: -getInfo incidents -format PRTG
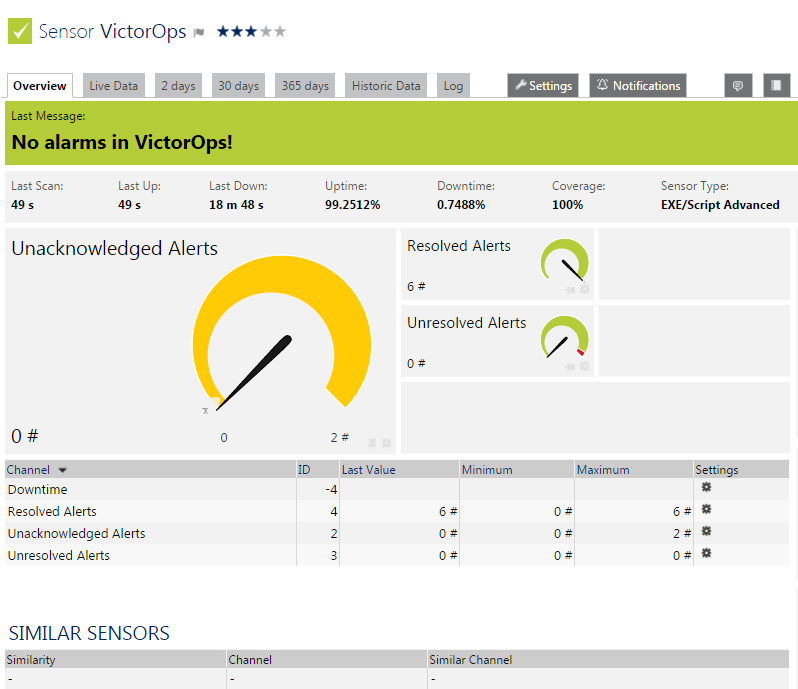
You can also setup a sensor for team on call reporting.
To do this, perform the above steps, but specify the parameters -getInfo OnCall -team unix -format prtg.
That will return a sensor that returns a text message of who is on call with their phone number (pulled from AD).
You can then create a map in PRTG of who is on call that can be provided publicly. To get the on call info use the "Status Icons -> Sensor Message only" Properties in the PRTG map builder.
Scanning Interval
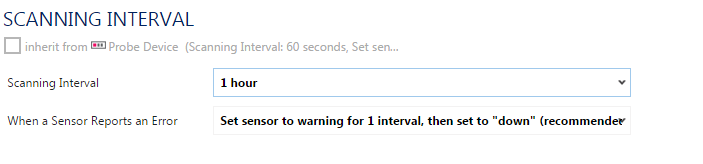
Be sure to change the scanning interval in PRTG to something that makes sense. There probably isn't a reason to keep it at every minute, so change it!
The code
Have any ideas on how to use this, or general feedback? Leave a comment!
Comments
No comments yet. Be the first!