PowerShell: Configure Your Scripts With a GUI!
•8 min read•Ginja


Making a GUI in PowerShell is a relatively easy process. GUIs can really come in handy, too! You can use them in scripts to guide execution a specific way, and even ease people into using PowerShell scripts that may otherwise stray away from anything command-line.
One of the coolest uses I've found for GUIs in PowerShell, is using them for script configuration. You run the script, set a parameter to true, and boom you have a GUI open that allows you to change and configure parts of the script the next time it executes.
If you're on a team, and you don't want people to have to edit your scripts (actually, if you don't want YOU to even have to edit your scripts), this is the way to go.
Enough blabbing already, let's get to it!
In this post
- Prerequisites
- Quick overview on creating a GUI in PowerShell
- Creating our example script
- Script code in GitHub
- What next?
- PowerShell 3.0+ (for this example)
- Visual Studio Community (or above)
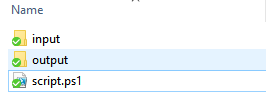
- Script created in folder that contains the following subfolders:
- Output
- Input
- Example:
A note about Write-Host
I use Write-Host in all my example code for one reason: readability. When you're actually scripting and writing code, you'll want to be sure to use something more versatile like Write-Verbose. Even better, use some logging functions to output to a log file and/or console.
The GUI creation method I use involved using Visual Studio Community, and outlining the application in the XAML GUI editor. Then I use what I learned from Stephen Owen on his site, Foxdeploy. As this post will not be a how-to on creating GUIs in general, if you're interested in the behind the scenes on what will be happening here when it comes to the GUI, I highly recommend reading through his series, here: https://foxdeploy.com/2015/04/10/part-i-creating-powershell-guis-in-minutes-using-visual-studio-a-new-hope/
The first thing we'll want to do is create our GUI. I will use Visual Studio Community for this.
1. Create new C# WPF Application

2. Design GUI via tools provided by Visual Studio
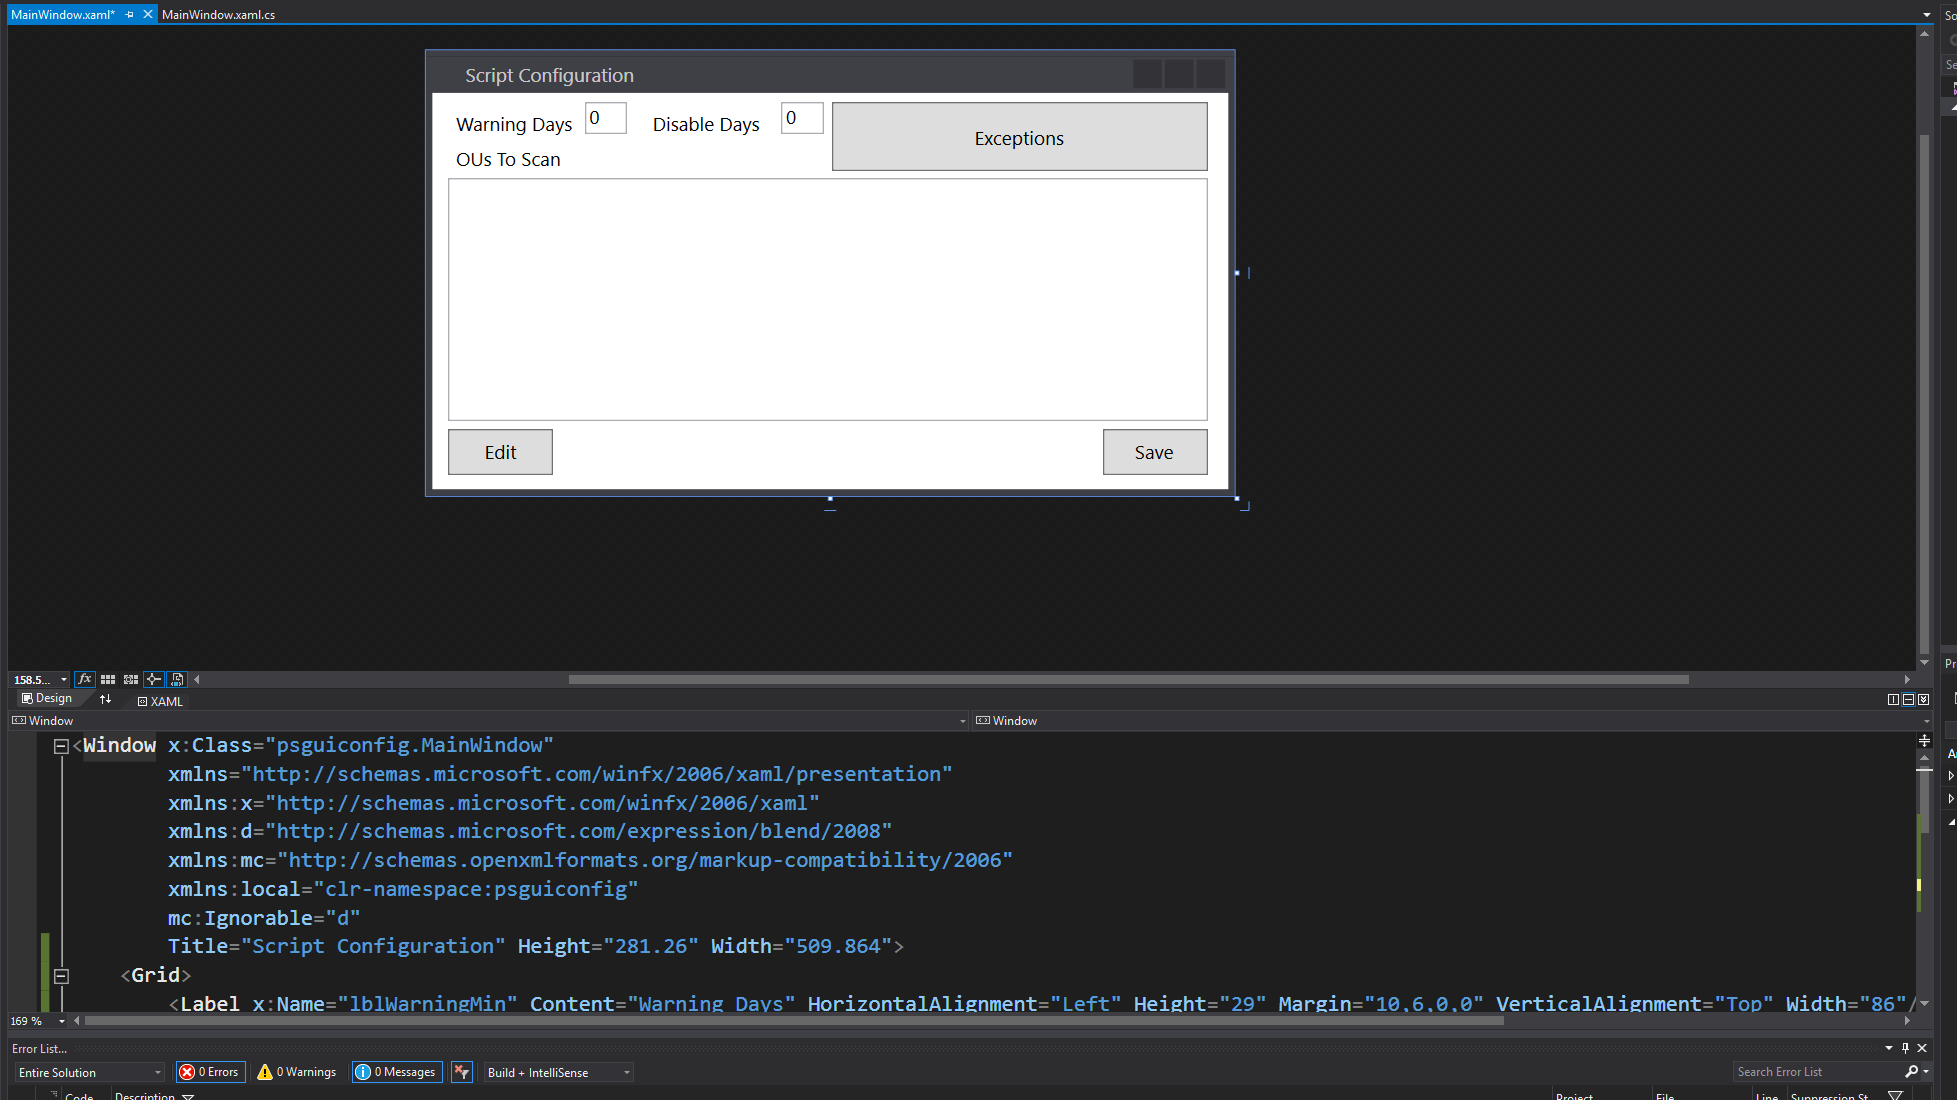
3. Copy the XAML generated by Visual Studio into PowerShell

Code so far
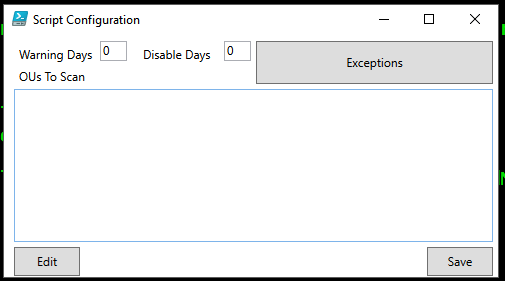
We can run the code now, and verify our GUI pops up as it should!
Now to get to work on making things happen!
Let's add the following code to the top of our script:
This gives us a parameter we can set later that will allow us to pop up the GUI (or not), and we setup some paths the script can use based on where it is run from. We also set the path to the configuration file we'll be creating and using.
Current folder structure:

Function for generating configuration file
Now let's create a function that will serve two purposes:
- Accept input as the configuration file contents to export
- Generate a base config if we don't pass any content to export
- This is nice for first time script execution, and we can include some defaults that we'll expand upon later
Next we'll add in an if statement that will:
- Create a config file if it doesn't exist (and import it)
- OR import a config file if it does exist
Full example code so far:
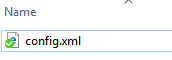
Execution of script with no configuration file:

We can take a peek in the input folder now to verify if it's there, and look at the contents.
Now that we have the configuration data available, and imported, we can use it in our script.
First, let's take a look at what the config data looks like after it is imported into PowerShell via Import-Clixml.
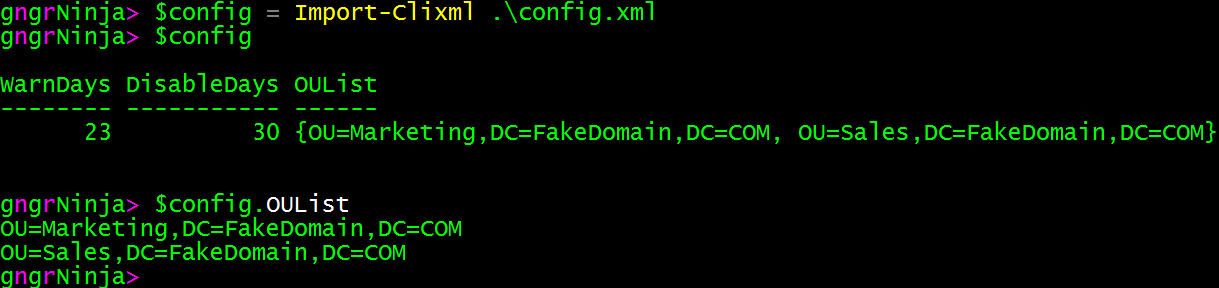
We have our data handy, and we can confirm that the OUList is indeed an array (as we'd want it to be), if we pipe $config to Get-Member.
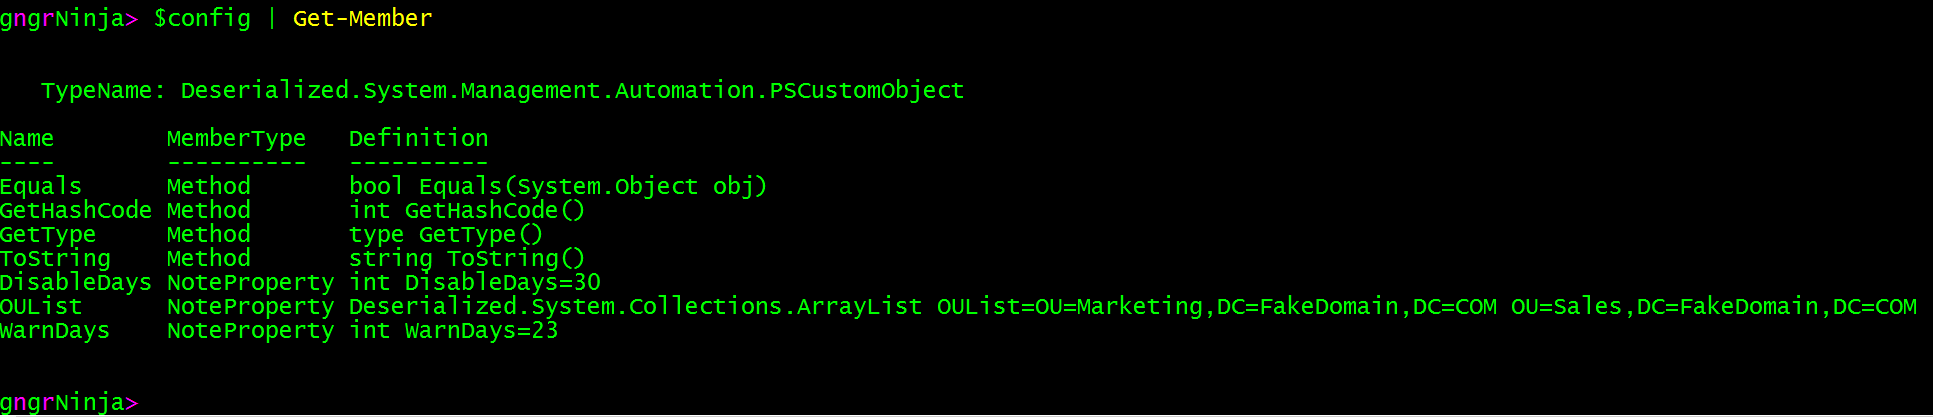
With this data available to us, we can add some logic to our script to use it.
First, we'll add an if statement to the script that will determine if we want to launch the configuration GUI, or actually run through the script logic.
Code:
In the code above, I have referenced a few different functions well need for the script to run correctly. They are Invoke-UserDiscovery and Invoke-UserAction.
Here is the code for those functions:
Full code so far:
Overview of what will happen:
- If $configScript is set to $false, the else statement will execute
- An example of using config data will be displayed for each of the OUs stored
- We generate a list of users with some last logon values, and random OUs from the OU list (Invoke-UserDiscovery)
- We then go through the users and process them, by piping the user array to Invoke-UserAction
- We store those results in $processedUsers, and then export them to a CSV and Clixml file in the script's output directory
- Finally, we pipe the results to Format-Table, to review in the console
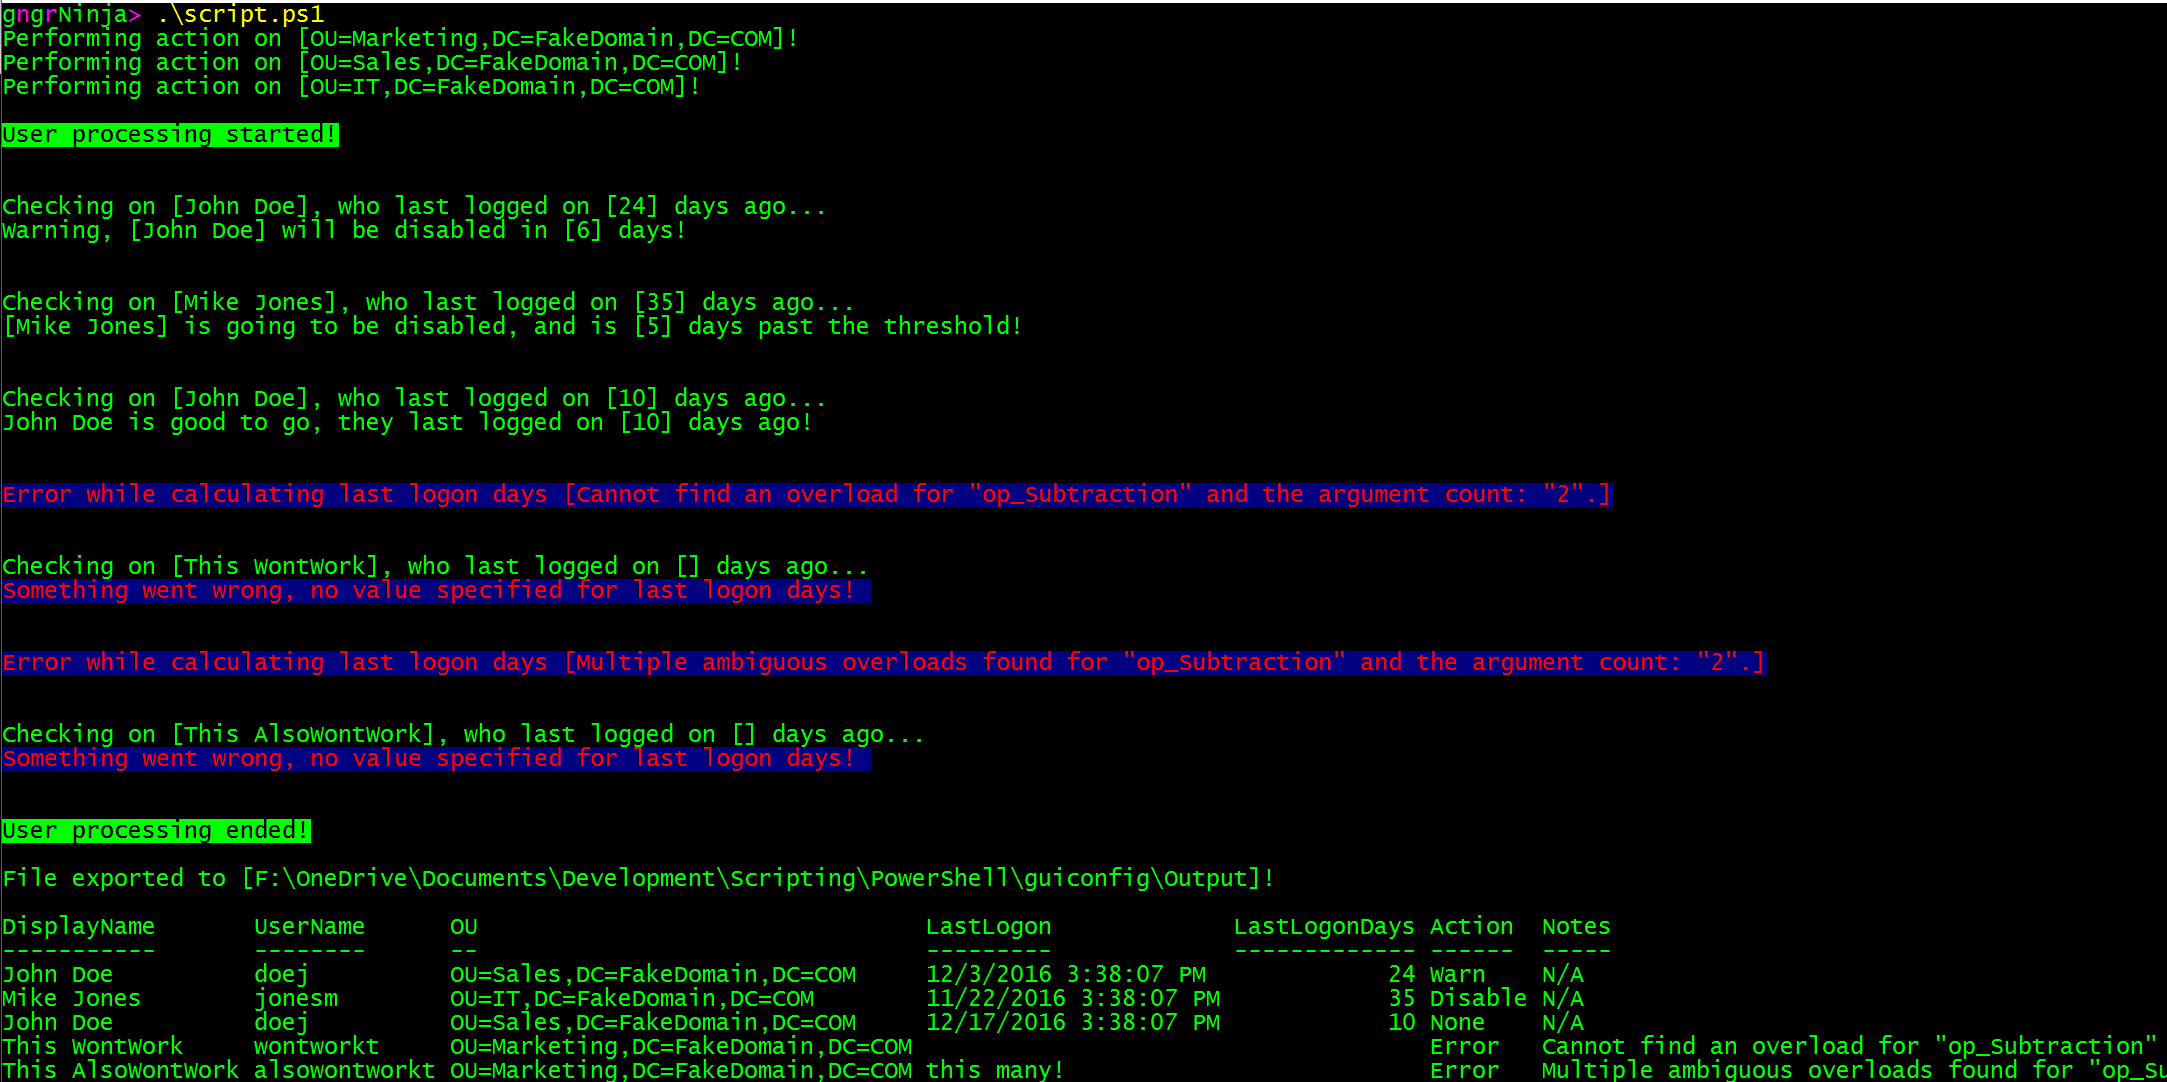
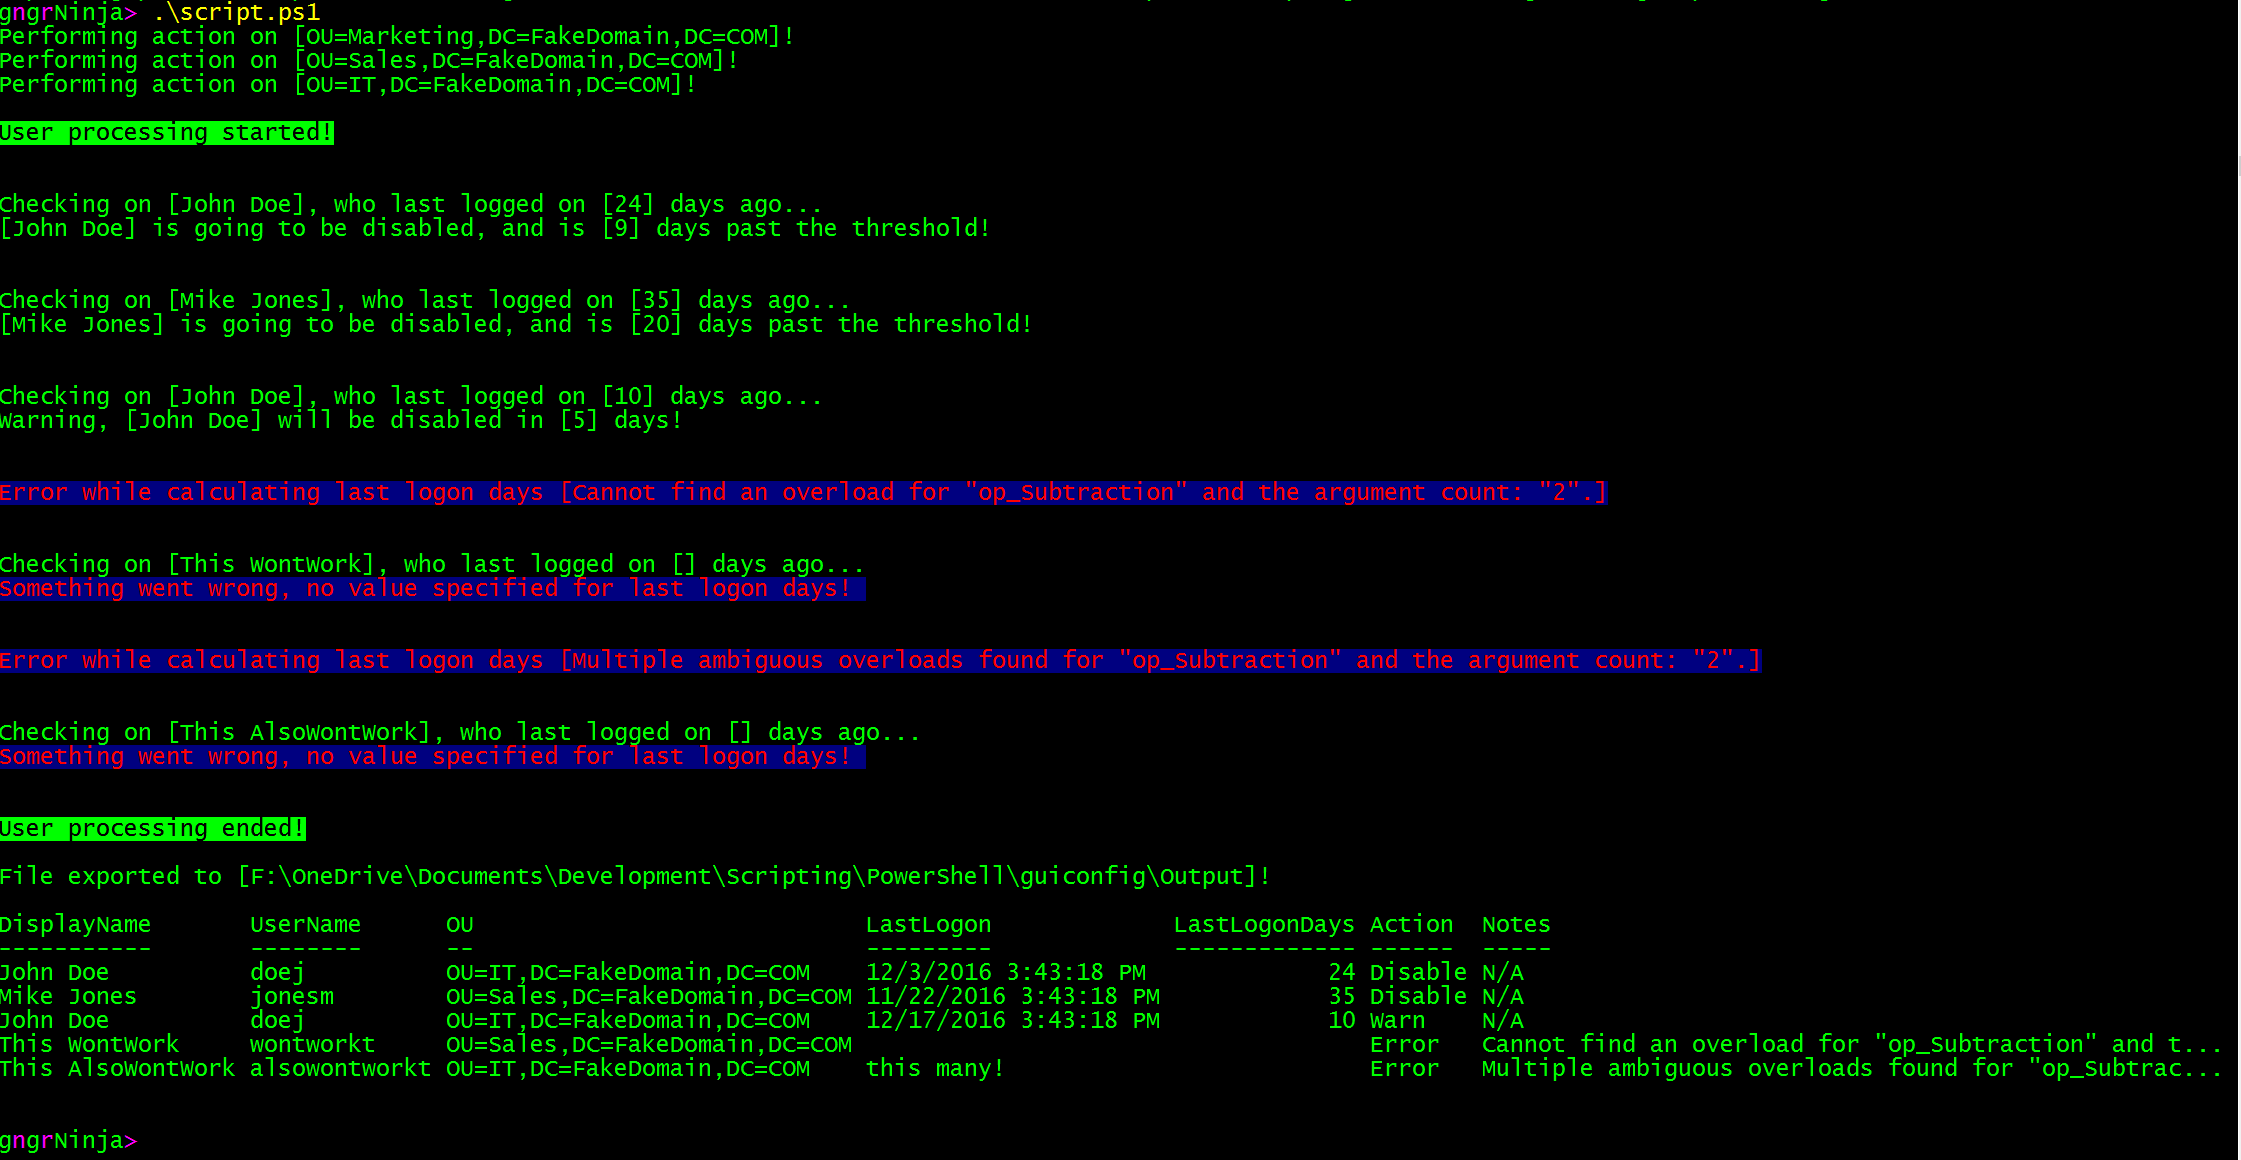
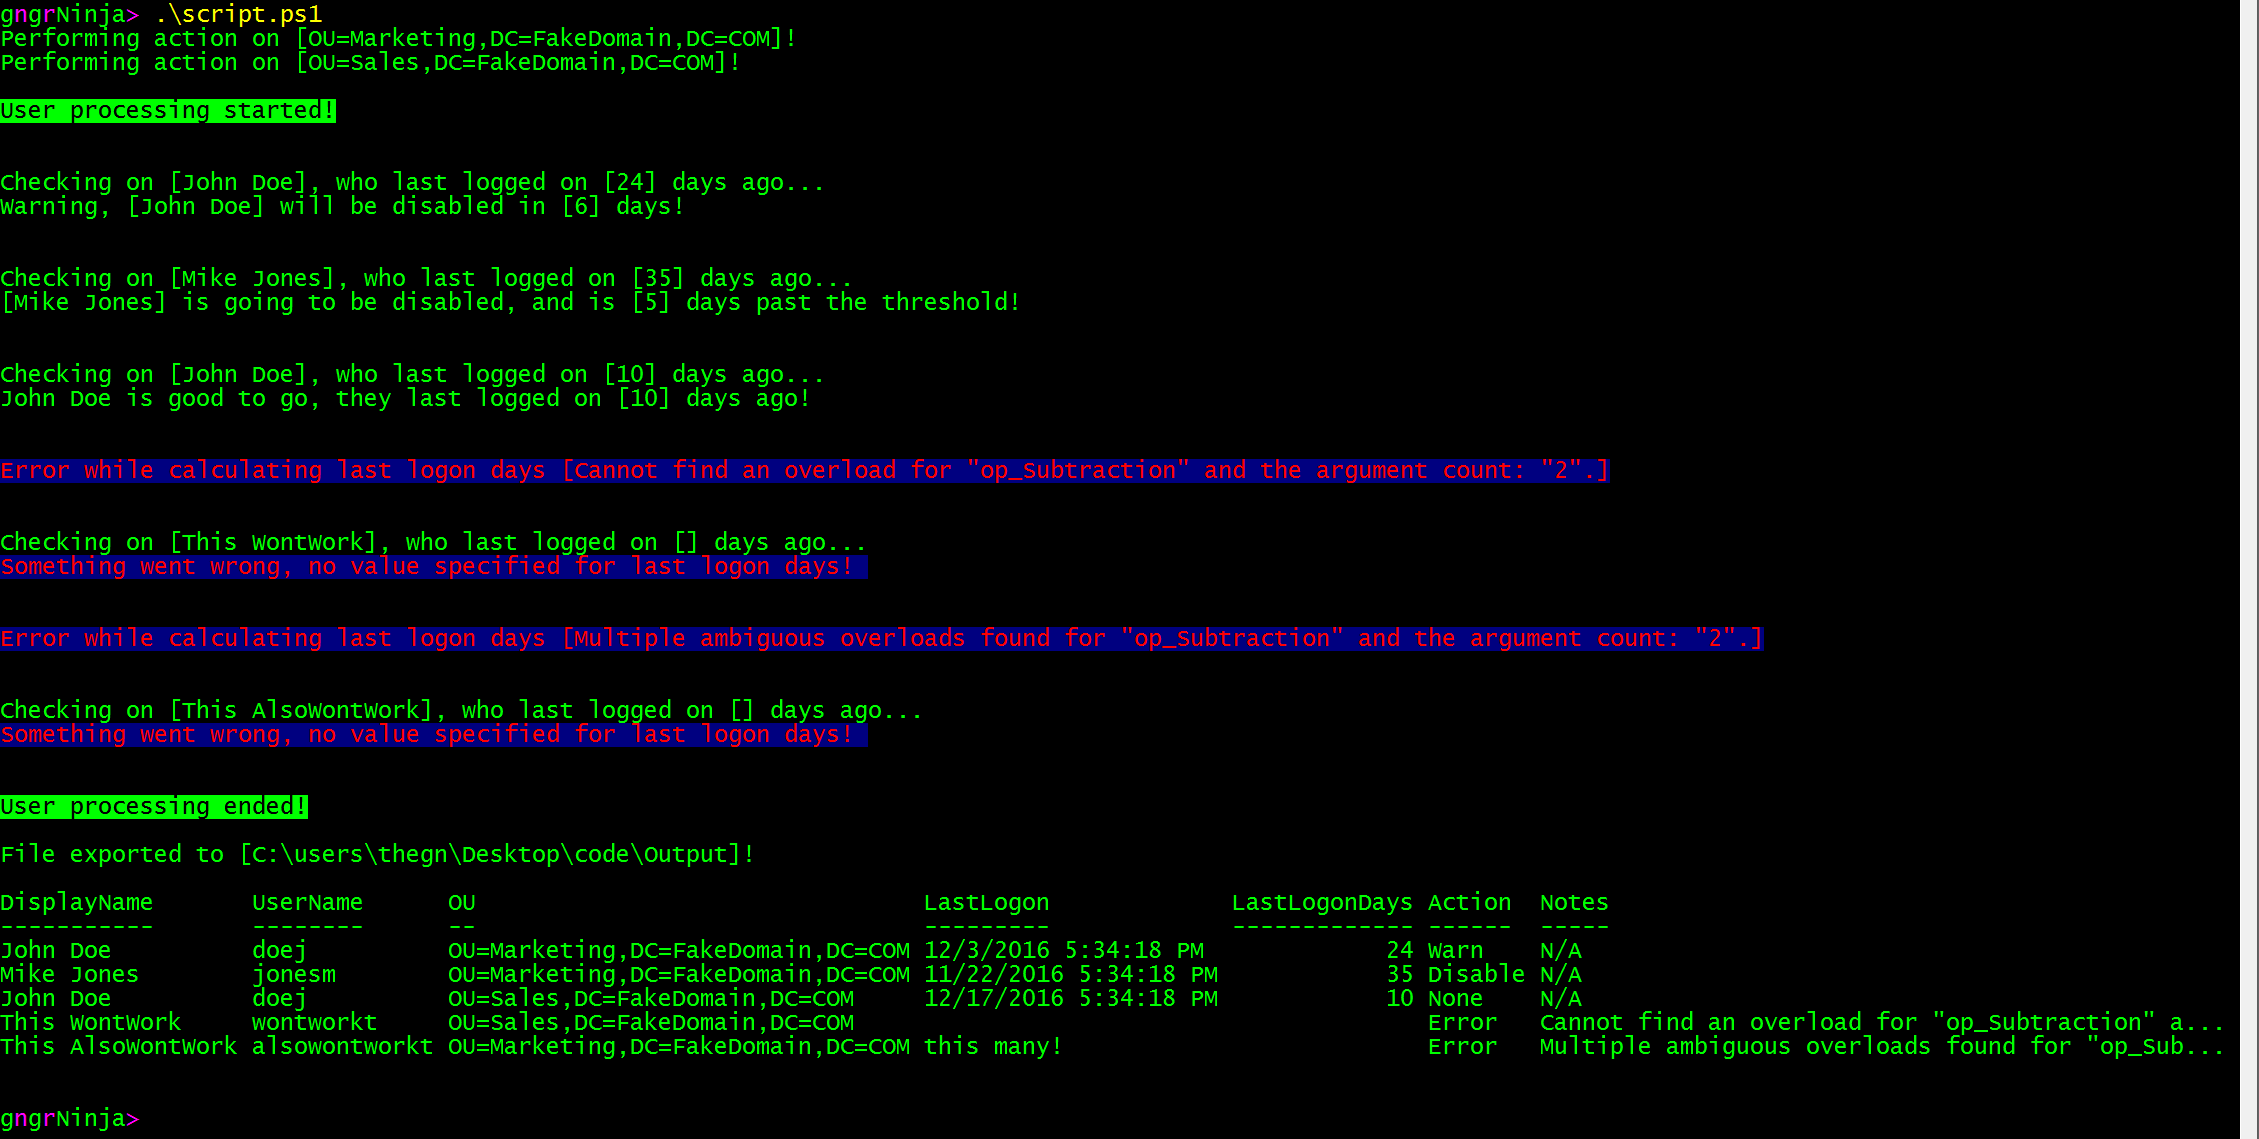
Let's run the script as is, and see what happens!
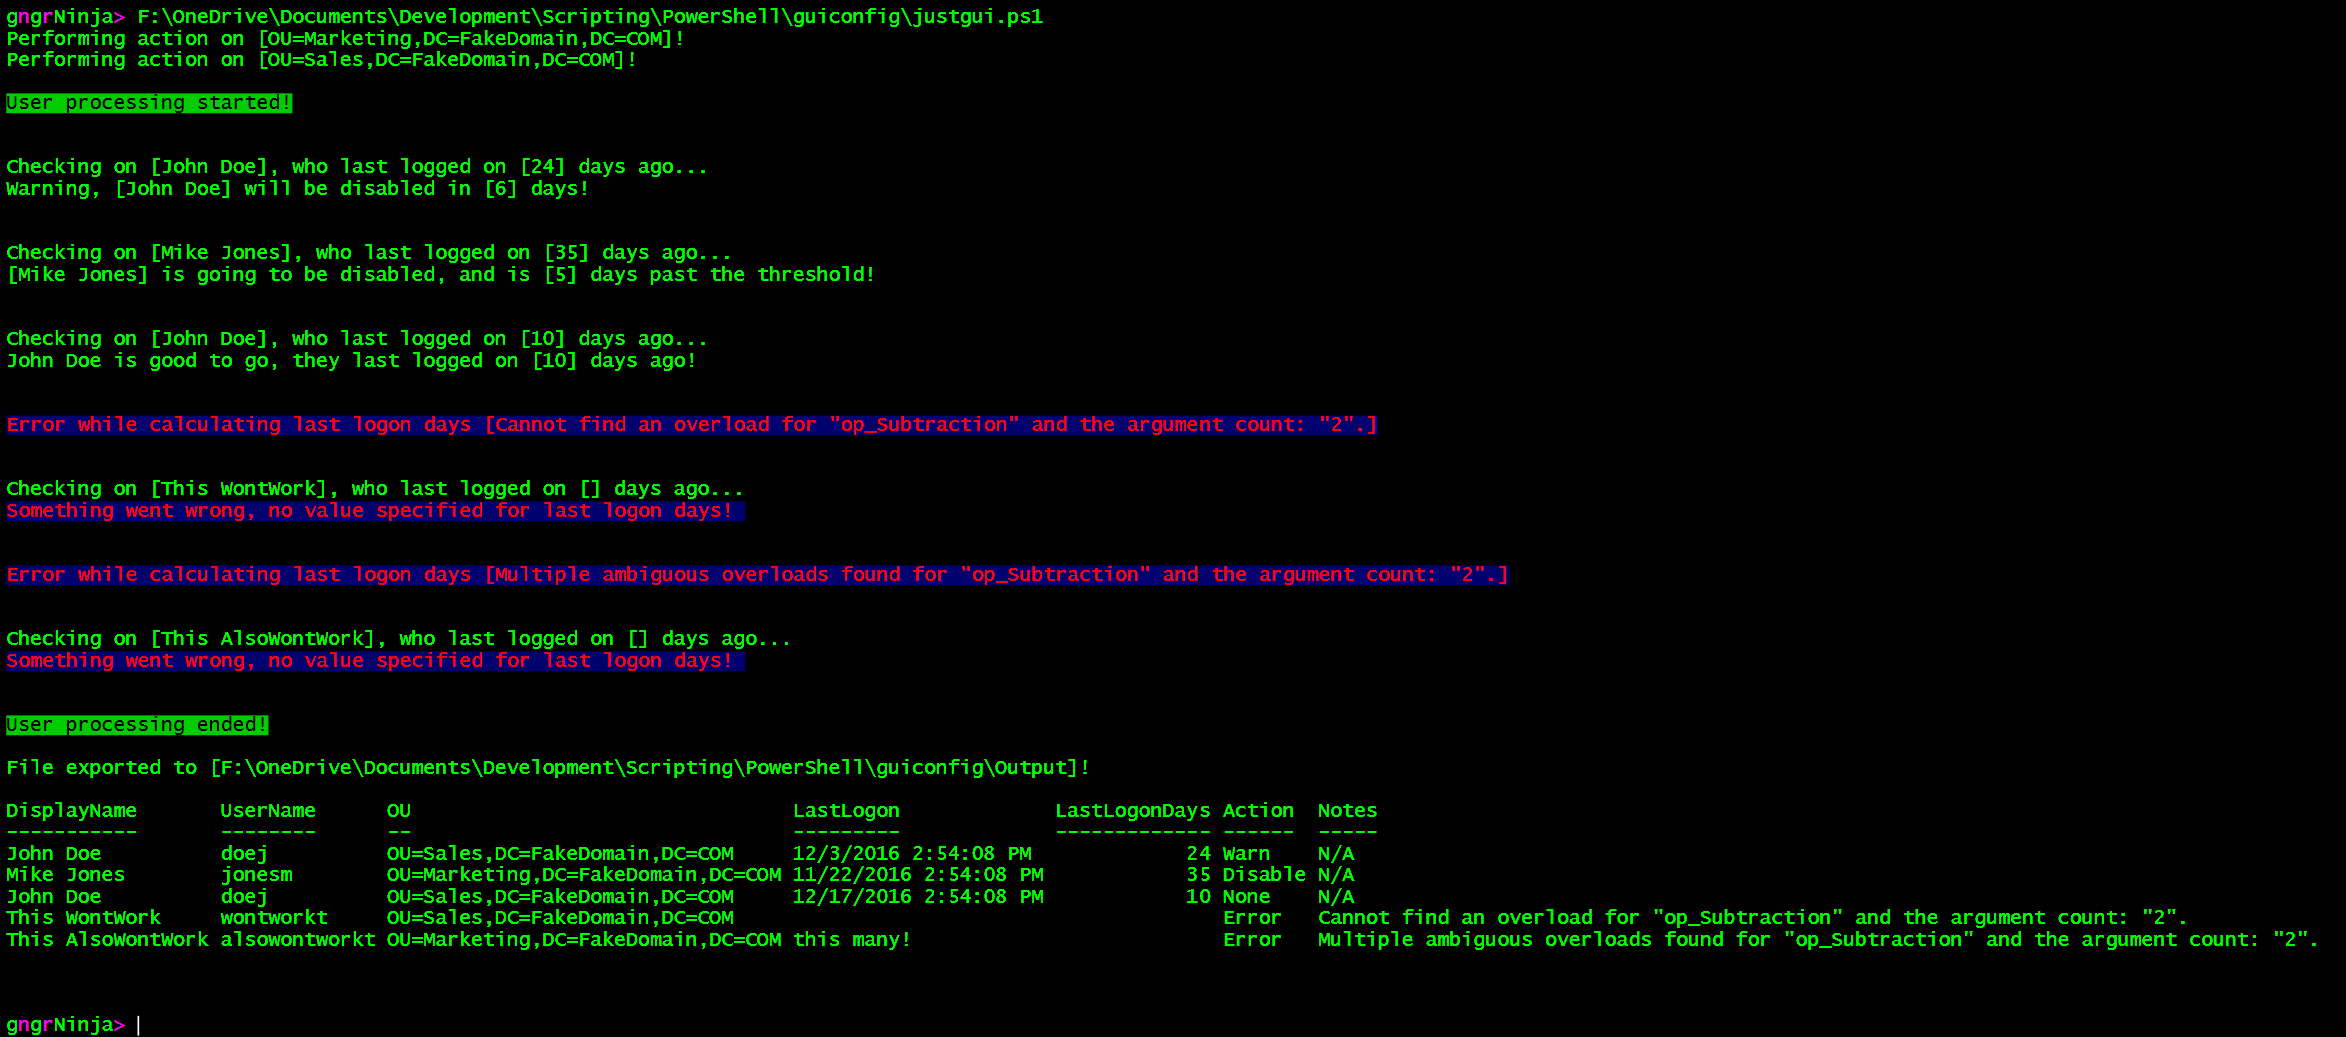
You can see that it performed all the steps above, as we would expect it to.
The output directory now contains two files:
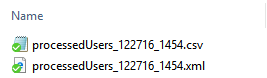
CSV File Contents:

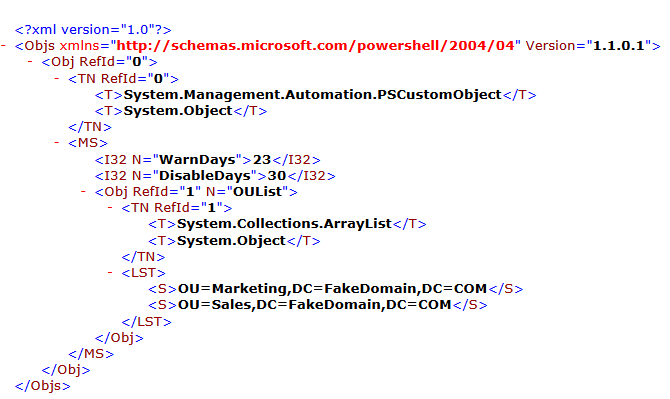
Clixml File Contents:
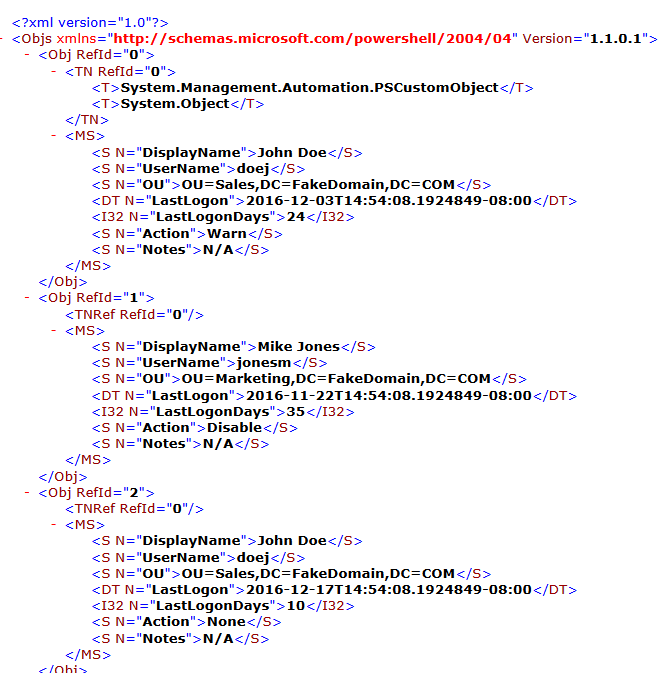
Now onto the ability to modify and save the configuration via the GUI we created!
Normally, I stray away from creating functions within functions...

...but in this case I like the way it creates a clean and understandable layout.
We're going to focus entirely on the function we created earlier, Invoke-GUI.
Here is the new code:
Overview:
- We add a function to save the data when the save button is clicked (Invoke-FormSaveData)
- We add a function that resets the data on the form and displays the current configuration (Invoke-FormSetup)
- We add some code that executes when the Edit and Save buttons are clicked
Notes:
The XAML has also been modified a bit (one line of it), to allow us to use the enter key, as well as to add a scrollbar (if needed).
The line that represents the OU list has had the following appended to it:
Full line:
It was a bit tricky at first when I was learning how to save the OU text box value as an array, here is the code that made it happen:
This bit of code allows you to split the text box into an array, and filter out any blank entries.
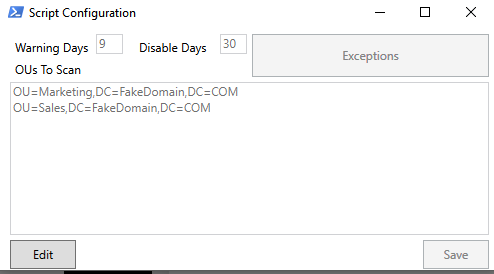
Running the script to configure the GUI
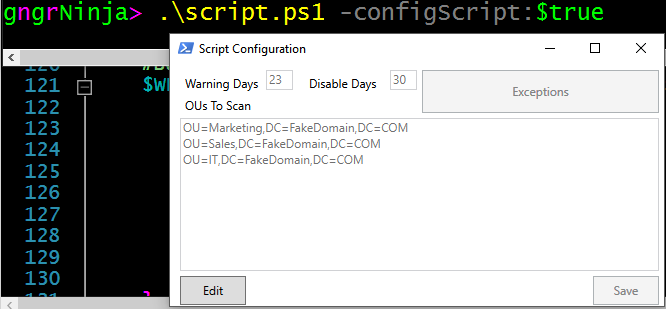
Now let's set the value of config parameter to $true when we run the script. This will launch the configuration GUI.
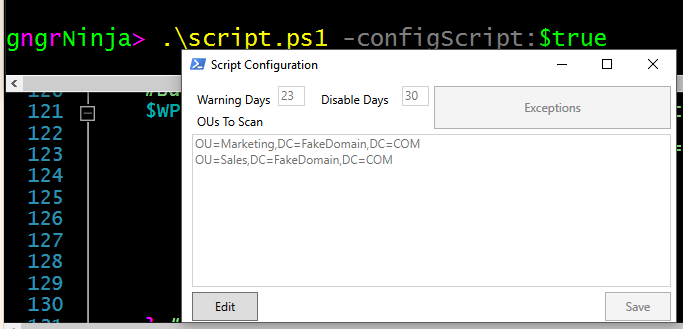
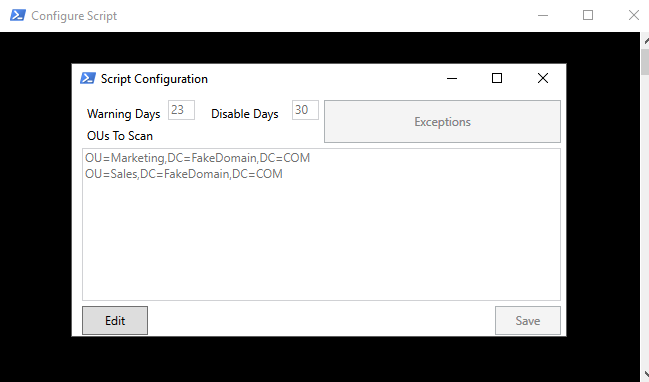
Time to test it out!
First, I'll simply add another OU.
I'll need to click Edit, and then add the OU:
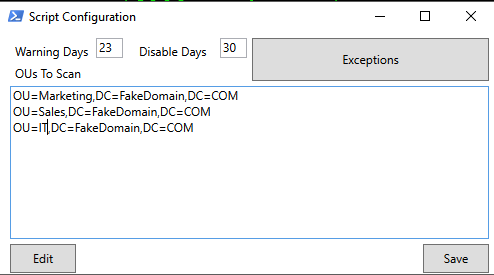
Now when I click Save it should lock the form again, and display a message in the console.
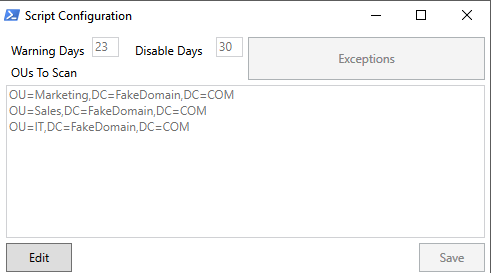

To verify it worked, we can run the script without flagging the parameter to $true.
Here are the current results:
The IT OU has been added, and used!
We can also test changing the warning and disable thresholds, to see how that affects our users and their actions.
Run script in config mode:
I'll set the warning threshold to 10 days, and the disable threshold to 15 days:
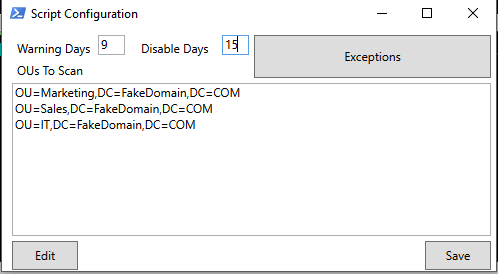

Let's run the script again, and check out the results!
It worked! You now have a script that you can modify when you need to with a GUI.
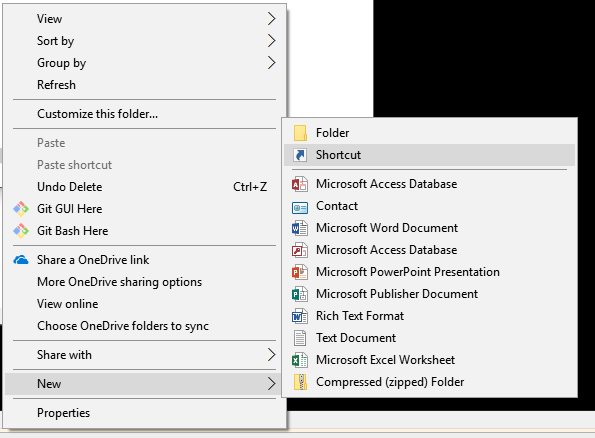
We can create a shortcut that when used, will launch the script with $configScript set to $true, and launch the configuration GUI.
To do this we will need to go to the script directory, and create a new shortcut.
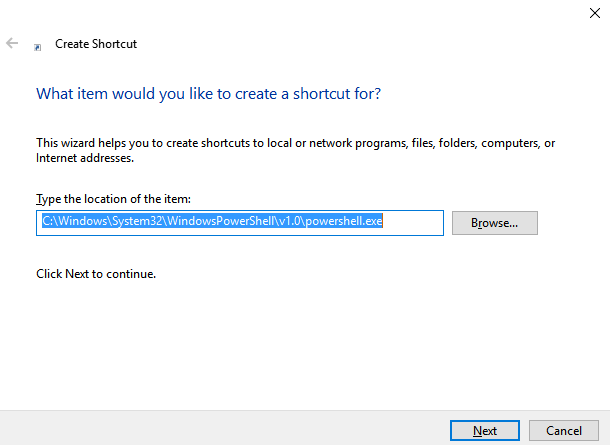
Then, we will set the location to C:\Windows\System32\WindowsPowerShell\v1.0\powershell.exe.
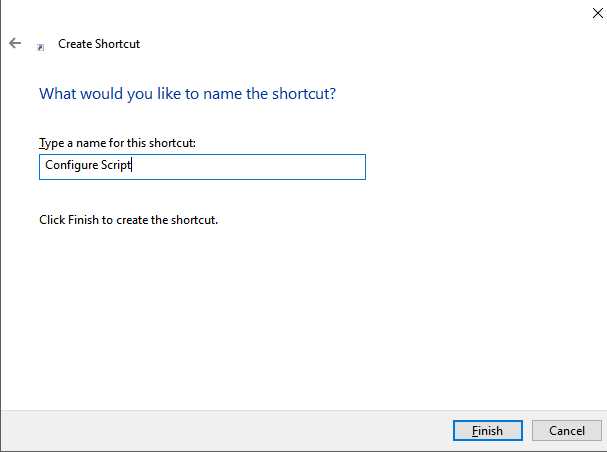
After that, we give it a name that makes sense.
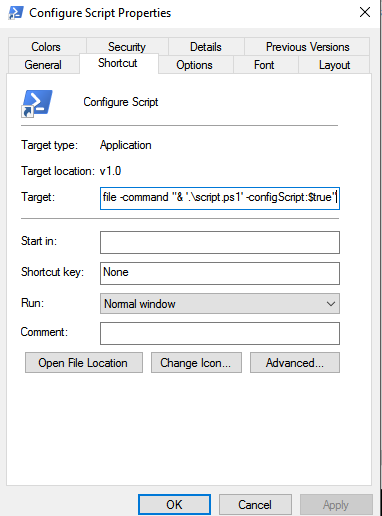
Now we need to edit the properties of the shortcut to change a couple things.
First, you'll want to append this to the target: -noprofile -command "& '.\script.ps1' -configScript:$true"
Full Target Value: C:\Windows\System32\WindowsPowerShell\v1.0\powershell.exe -noprofile -command "& '.\script.ps1' -configScript:$true"
Finally, clear out anything in Start in:, and click OK.
You should now be able to use the shortcut to configure the script!

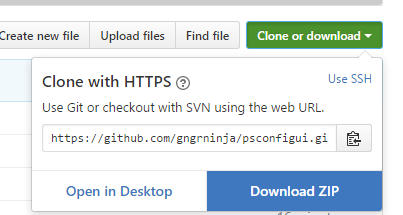
All of the code for this script is placed on GitHub, you can check it out here.
You can download the contents as a ZIP file by going to 'Clone or download', and then selecting 'Download ZIP'.
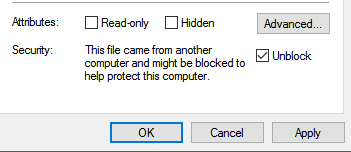
If you download the code, and would like to run it as it using the shortcut or console, you'll need to unblock script.ps1 first.
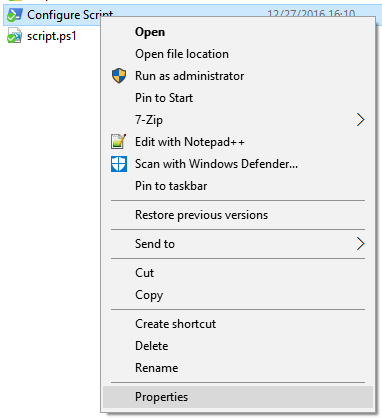
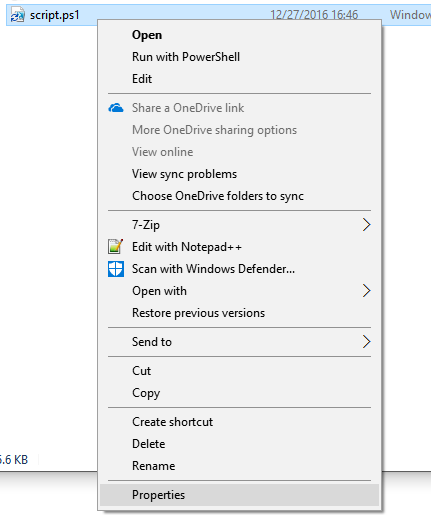
To do this, right click script.ps1, and go to Properties.
Now you'll want to check 'unblock' , and click Apply/OK.
Using the code:
You can then testing out the code by opening PowerShell, and browsing to where you extracted the contents. You can then run .\script.ps1.
cd C:\users\thegn\Desktop\code\
.\script.ps1
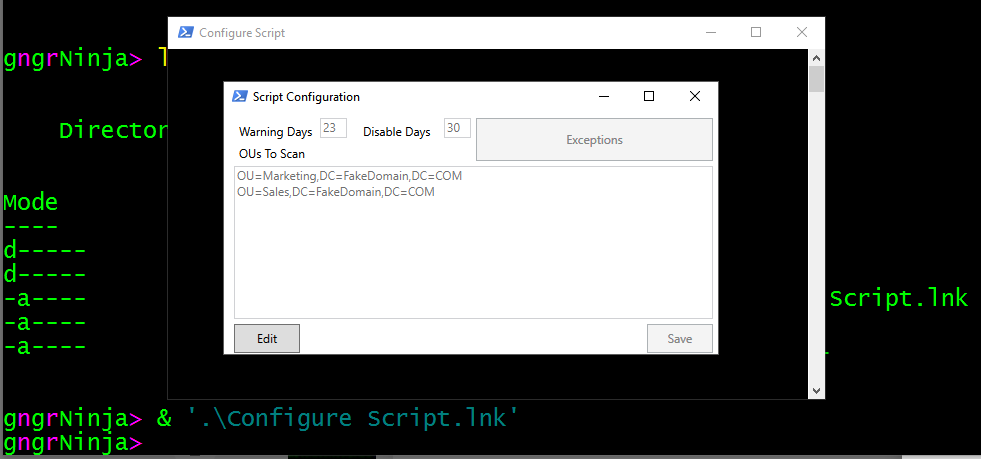
You can actually launch the configuration shortcut from here too!
& '.\Configure Script.lnk'
I'll change the warning threshold to 9 days and re-run the script to verify it is working.
Now to run the script and see if everyone at least gets a warning:
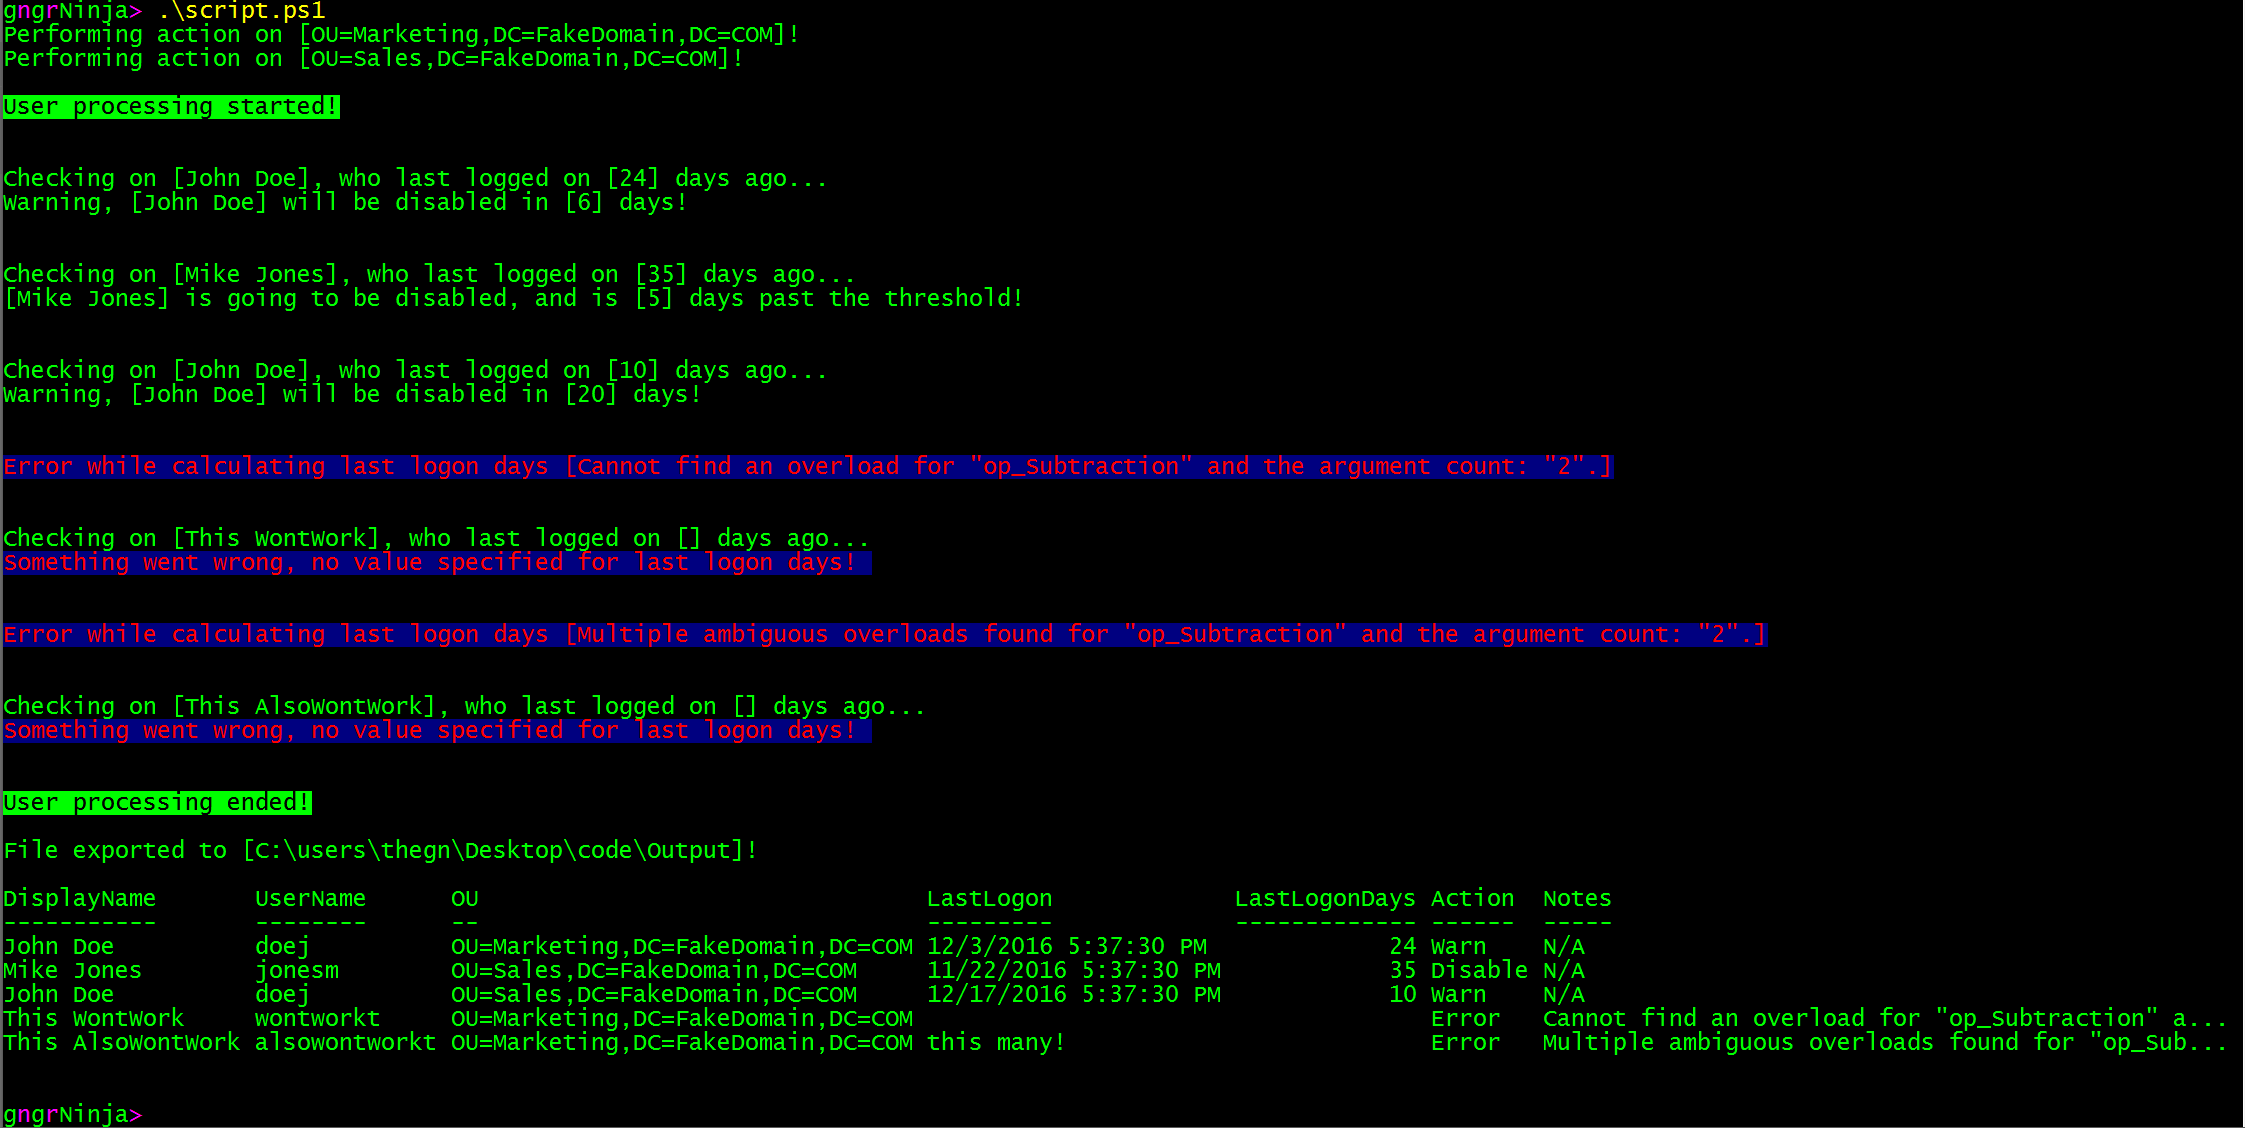
There you go, it worked! Please feel free to take whatever pieces of the code you need, and make them work to your heart's desire.
- Apply the logic learned here to scripts you want to have the ability to easily edit on the fly
- Learn more, and dive in by getting that exceptions button to do... well anything!
- Dive deeper into PowerShell GUI creation
Comments
No comments yet. Be the first!