PowerShell: Ninja Downloader (Modular File Downloading Utility)
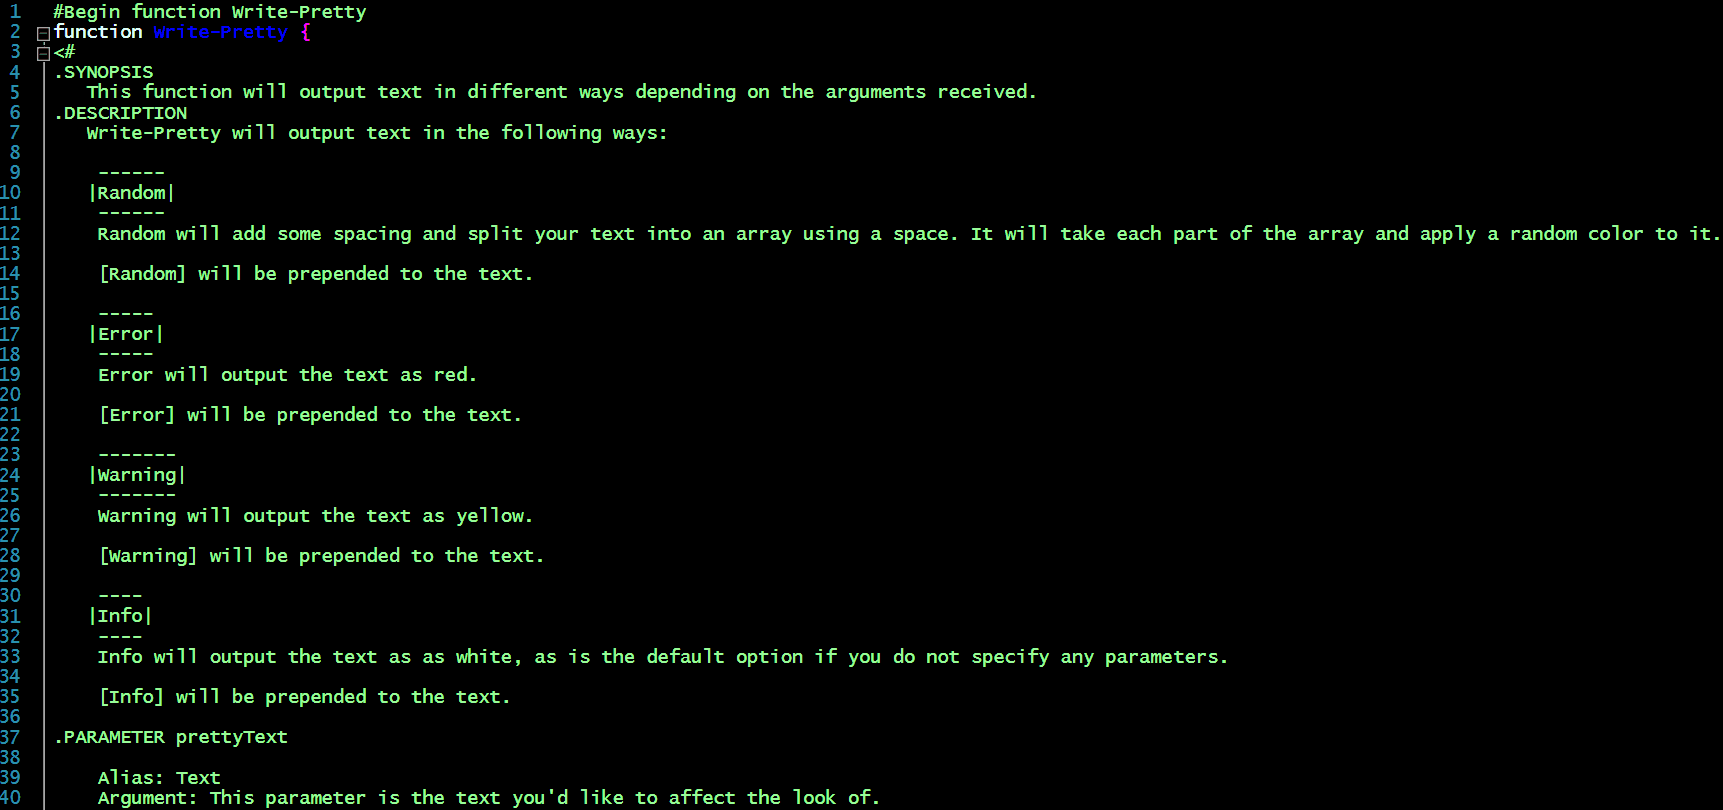

Knowing PowerShell can come in handy when you need to download files. Invoke-WebRequest is the command to get to know when working with web parsing, and obtaining downloads.
I've noticed, however, that different files show up as different content types, and parsing out the file name requires all sorts of voodoo. What if there was a way to use one tool that could utilize the power of PowerShell, and make downloading files a modular experience?
This tool, and blog post, are is inspired by folks asking me for help downloading files via PowerShell. I always appreciate feedback and questions, and this is exactly why!
In this post
- PowerShell 3.0+
- Access to the internet
Ninja Downloader works by executing the main script (download.ps1), which takes the following parameters:
- DownloadName
- This is the name of the script you'd like to execute (use 'all' to execute all scripts)
- Scripts are located in the .\scripts directory
- Argument must omit the .ps1 extension of the script in the .\scripts directory

- OutputType
- This parameter let's you specify the output type, the default is none.
- XML -> Export results as clixml
- CSV -> Export results as a CSV file (default)
- HTML -> Export results as an HMTL file
- All -> Export results as all of the above
- Output is exported to the .\output directory
- This parameter let's you specify the output type, the default is none.

- DownloadFolder
- This parameter allows you to specify a location to place the downloaded files
- Folder will be created if it does not exist
- If left empty the folder .\downloads will be used
- This parameter allows you to specify a location to place the downloaded files

- UnZip
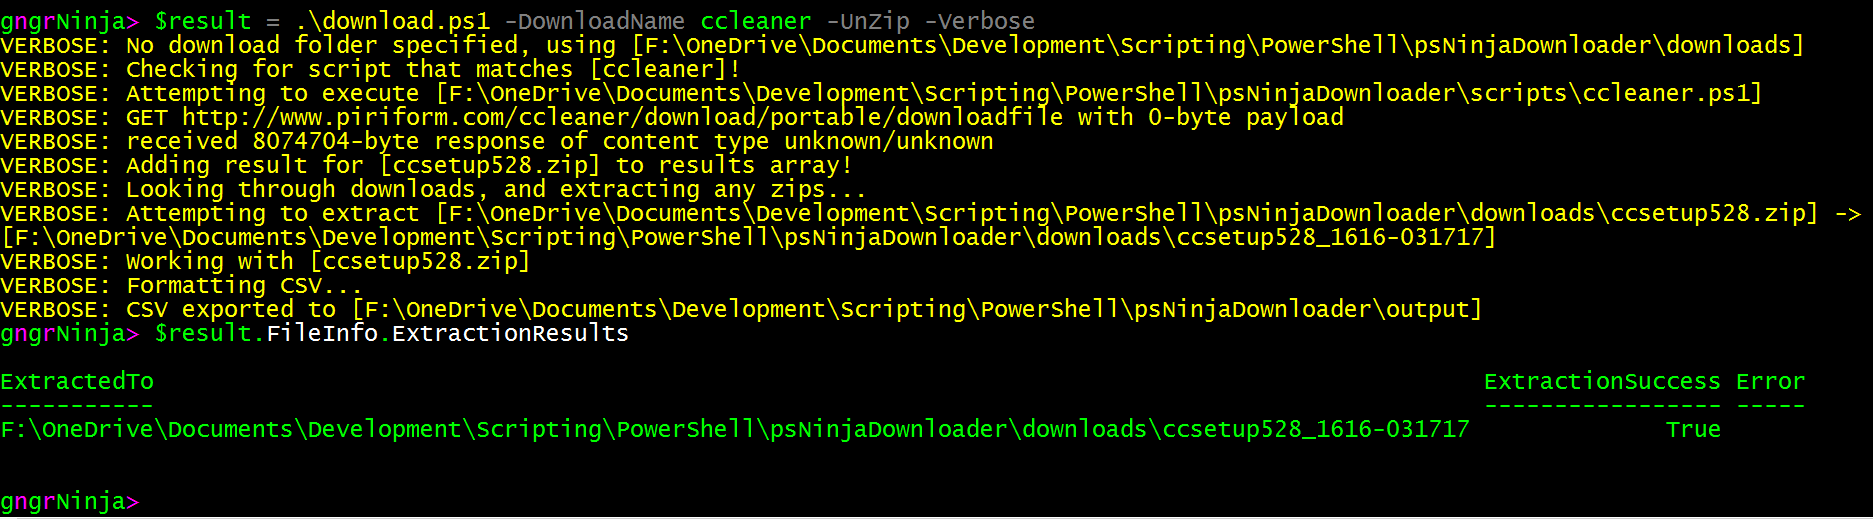
- This parameter will look for zip archives after files are downloaded and attempt to extract them
- Files extracted to .\downloads\fileName_HHmm-MMddyy\
- This parameter will look for zip archives after files are downloaded and attempt to extract them
- ListOnly
- This parameter (a switch) will give you a list of all possible names to use for DownloadName, as well as the paths to the scripts.

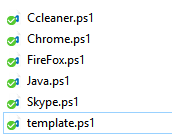
There are several scripts included by default with tool.
- Ccleaner.ps1
- Chrome.ps1
- FireFox.ps1
- Java.ps1
- Skype.ps1
- template.ps1 (never executed, this is a template for creating your own download script)
So how do we use them, then?
- Open PowerShell, and navigate to the root directory of the project/script.
- Run the following code:
This will give us access to the results in $downloadResults.

You can see that the results we get include the name of the script executed, if it was executed successfully, any errors, and another object inside of this object named FileInfo.
FileInfo contains the file name, path to the file (full), any errors, and if we could verify it exists.
This attempt was successful, and our results echoed that! Let's take a look in the downloads folder just to be sure...

Awesome!
What if we wanted to download all the files via every script in the .\scripts folder?
- Open PowerShell, and navigate to the root directory.
- Run the following code:
This time we can see some of the output as it happens via the -Verbose switch.

Now let's take a look at $downloadResults:

For good measure, we'll also look at the downloads folder:
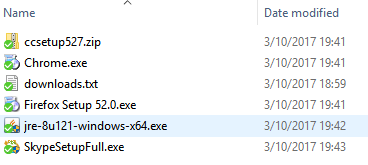
Alright! It worked.
This script allows you output the results in various ways. All of the results will be time-stamped with the date and time.
To output results as a CSV, run:
After it runs, the results will be in the .\output folder.


To output results as HTML, run:
After it runs, the results will be in the .\output folder.


To output results as XML, run:
After it runs, the results will be in the .\output folder.

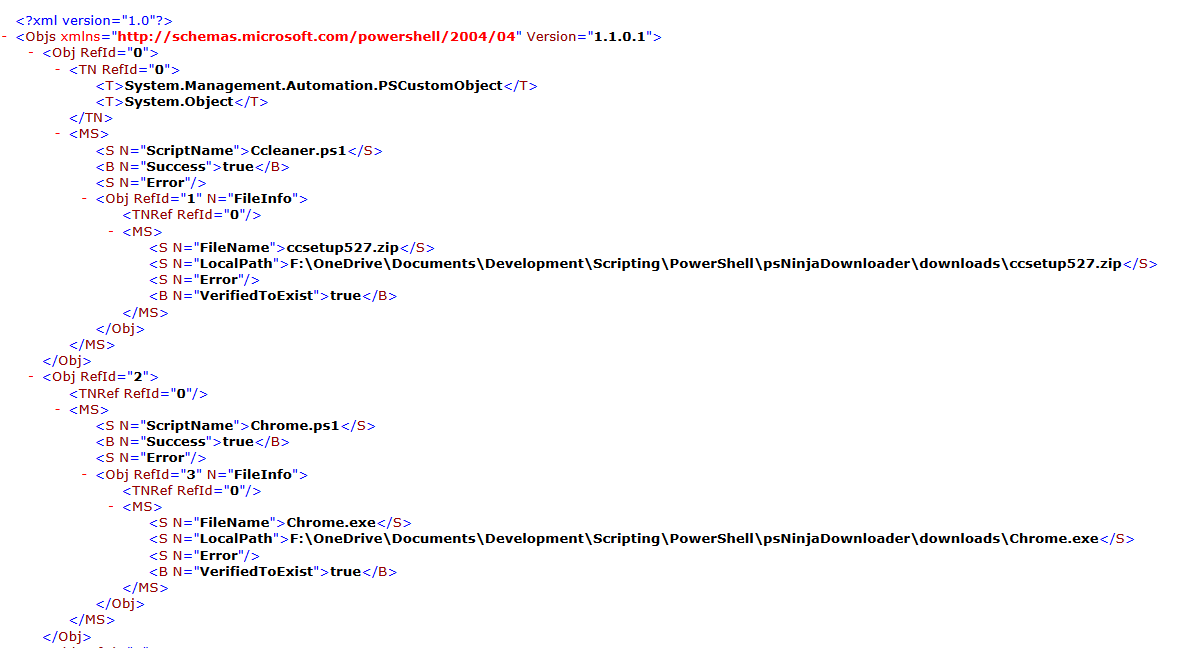
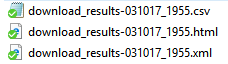
To output results in all three formats, run:
After it runs, the results will be in the .\output folder.
You can create your own script to use with the Ninja Downloader tool. The template provided is a working example of how Firefox is downloaded. The template is located in the .\scripts folder.
Template code:
What matters the most is that you return an object that has the following properties:
- DownloadName
- String value of the downloaded file name
- Content
- Byte array containing the actual file
- Success
- Boolean (true if the file was able to be downloaded)
- Error
- String representing any errors encountered
Example script creation:
For this example, let's download ElvUI (as we learned how to in detail, here).
First, I'll save the template as elvui.ps1
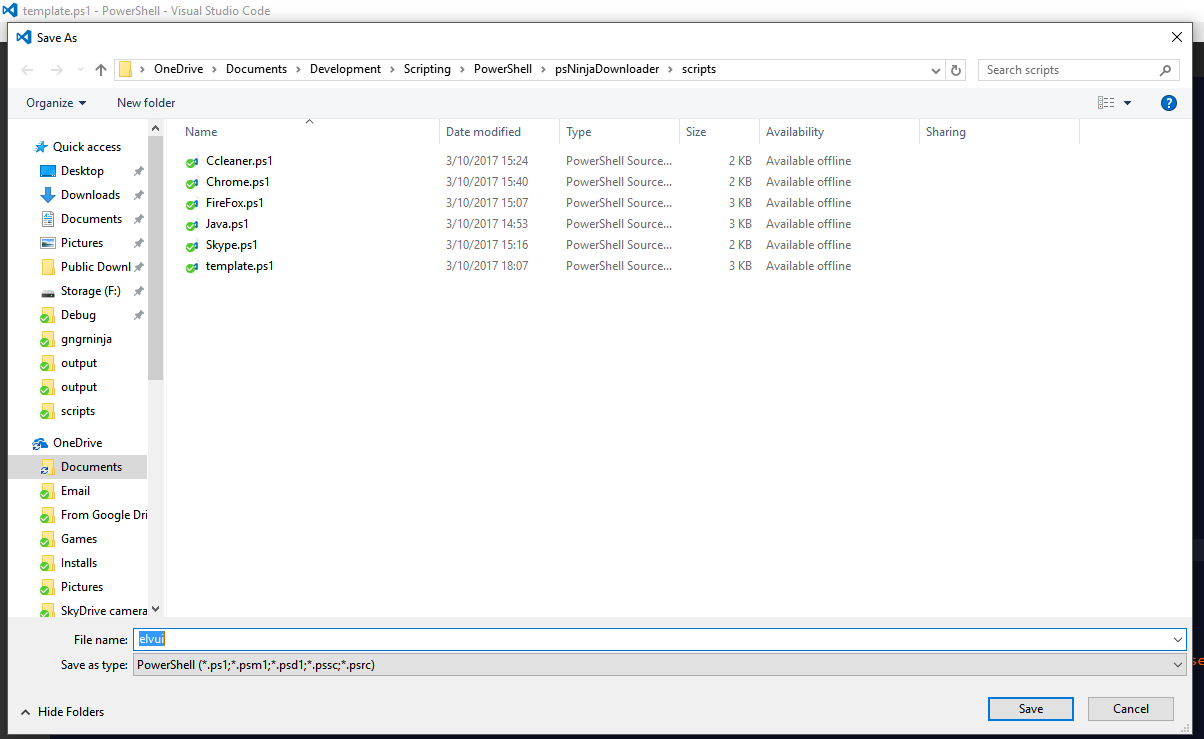
Then, based on our knowledge of web parsing (more here if you would like to learn more about Invoke-WebRequest), we can edit the template to reflect the correct web parsing needs and content type.
Full code for elvui.ps1
Let's test it out!


And there you have it, modular file downloading via PowerShell.
This project is available on Github!
Click here to go to the psNinjaDownloader repository.
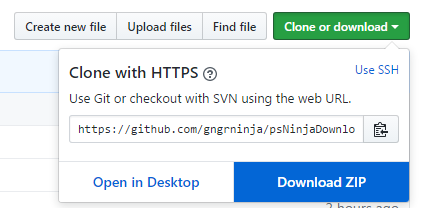
You can download the contents as a ZIP file by going to 'Clone or download', and then selecting 'Download ZIP'.
If you download the code, and would like to run it, you'll need to unblock download.ps1 first.
To do this, right click download.ps1, and go to Properties, and check 'unblock', then click Apply/OK.
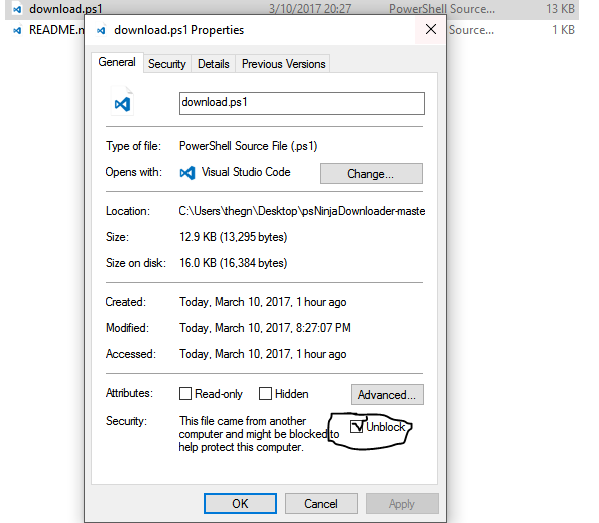
You'll also need to do this for all the scripts in the .\scripts folder
You can repeat the above step for every script in the .\scripts folder, or we can use PowerShell to do it!
- In PowerShell, navigate to the .\scripts folder of psNinjaDownloader
- Run the following command:
Voila, you now have a working copy of the script!
- Create your own download scripts, and test downloading things auto-magically.
- Use this to download the latest version of tools as a schedule task
- See the full help for the script by running:
Get-Help .\download.ps1 -Full
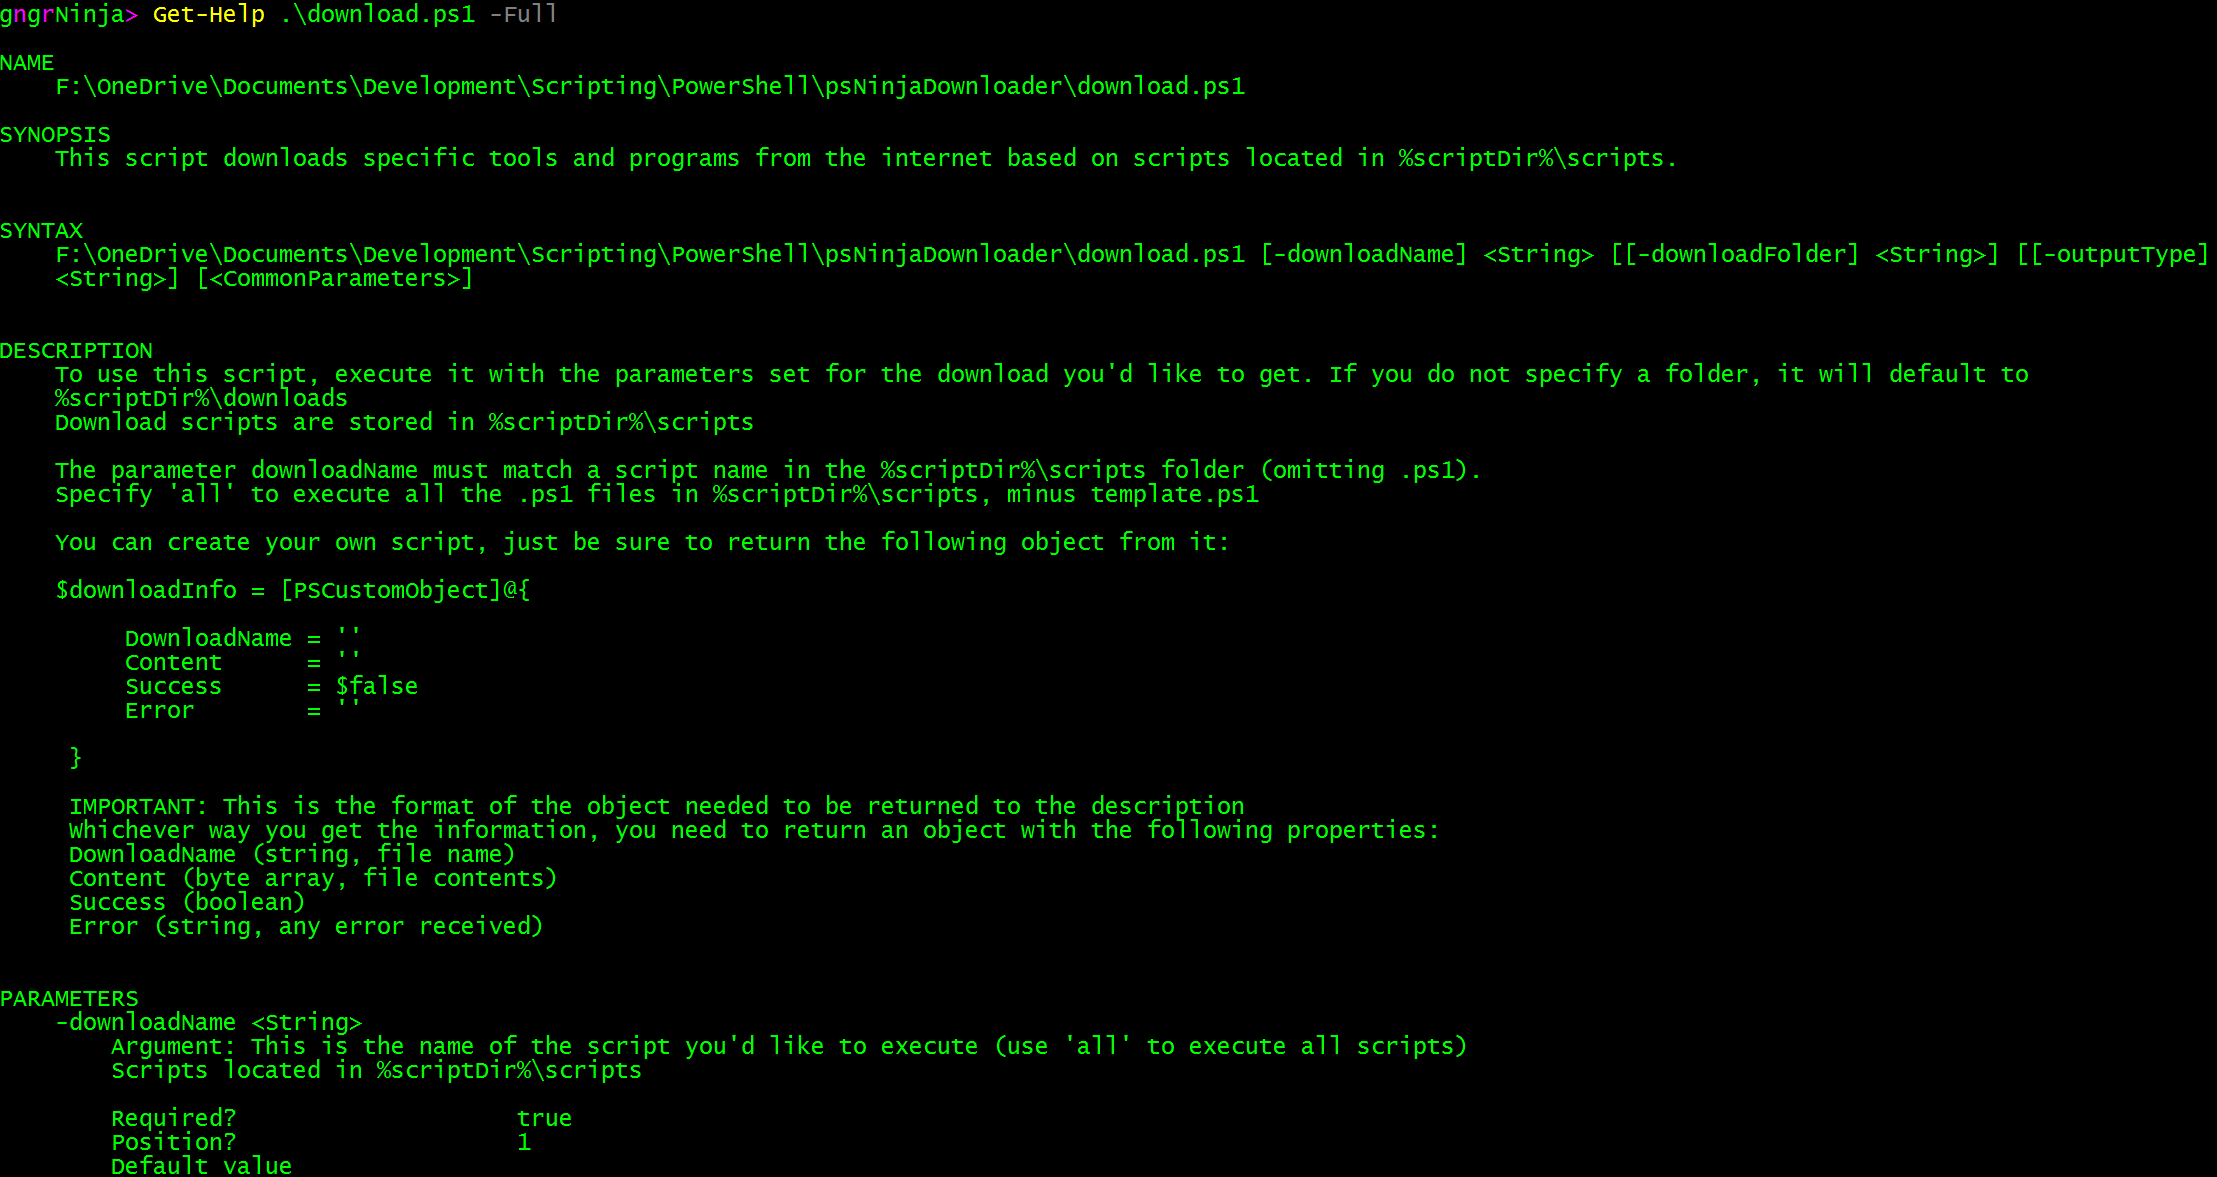
If you have any feedback, questions, or issues, leave a comment here or contact me!
Comments
No comments yet. Be the first!